Adding Folders
Adding folders to a Plone web site is the basic way of controlling the organization of content.
You have undoubtedly created folders (directories) on your computer's hard drive. Personal computers use a hierarchy of folders to structure and organize the programs and files on the hard drive. In Plone folders are essentially used the same way, except that they are created on a Plone web site, for organizing content in Plone's built-in storage system.
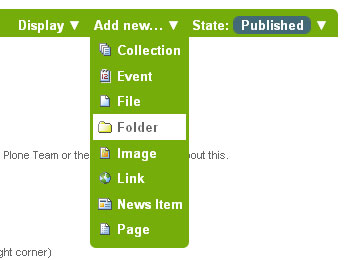
Folders are added by clicking the Add new... drop-down menu. Select Folder from the menu:
You should now see the Add Folder screen:

Fill in the Title, which is required, as indicated by the red square. The Description is optional; you can always come back to the edit panel if you need to add a description of the folder. Descriptions are useful when a site visitor uses the search tool included with Plone - results will display Title and Description of the item. The Image is also optional. The Image will display as a thumbnail in search results and in folder/collection listings. See Adding Images for more information.
You also notice tabs along the top:
- Default, for entering the Title and Description fields,
- Categorization, for specifying categories that apply to the folder (you may know these as keywords or tags). Tags are required if you want your items to be made available in other areas of the portal, or if you want to make your items more likely to be picked up by search engines (both internal and external).
- Dates, for setting the time period when the folder should be available for view on the web site,
- Ownership, for specifying the creator and/or contributors for the content item,
- Settings, for allowing comments about the item, adding next and previous links, and choosing whether it shows in the navigation menu for the web site.
Be sure to click Save at the bottom of the page when you are finished.